Docs
Welcome Creator! We're happy you're here :)
What is Public Works?
Public Works is a mint platform for creating NFT collections that mint on-demand. A work is a generative collection with NFTs that are created upon mint. Instead of pre-generation, javascript and randomness derived from on-chain data generate new artworks. Public Works is a tool for creating on-chain interactive multimedia creative works!
How does it work?
Public works connects the hash of the mint transaction with the code inside of a website to generate the image, animation, or other type of media.

This is achieved by using a pseudo-random number generator that turns the mint hash into the random seed. The PRNG is then used to generate attributes (nft traits) which are used to generate the work.
Your project's code is bundled into a zip file and uploaded as a standalone website to IPFS. This code url is stored on chain so your work can be accessed by a decentralized client.
For a short period after minting, the public works backend intercepts the mint event, renders a preview image for the nft, and stores the hash on chain. Afterwards, your work is permanently stored in decentralized hosting.
How to create a work
Follow the quick start steps or read up on the full public works API below.
File Structure API
A work is essentially a website that draws to a canvas.
At minimum your work must include an
index.html. But you can also include additional assets such as javascript, css, fonts, media, or any other file type.An example work may contain the following files on a file system:
- index.html
- js/
- app.js
- styles/
- style.css
- img/
- img1.png
- img2.png
This work file structure is bundled together into a zip file with
index.html at the root and submitted to public works on the create page.As long as your 'website' draws to a canvas, you can use any kind of file. Keep in mind, works cannot fetch data from external endpoints. All data and files must be bundled into the website file structure. Outbound calls are blocked during preview generation.
All files and assets must be referenced by your code using relative URLs. So in the above example, when referencing
/img/img1.png use the url relative to index.html-- img/img1.png.Webpack Template
The Webpack template is our recommended starting point. But it helps to know how to use
npm. This template provides nice developer features like automatically bundling dependencies and a dev mode to assist while creating your work. This template can also bundle your work into a zip for submitting to publicworks.art.Basic HTML/Javascript Template
The basic template is useful if you don't want to use npm and Webpack. This template requires manually zipping your project before submitting to publicworks.art
Demo p5.js work
Javascript API
Lifecyle & Environment
A work moves threw a couple major states you need to handle:
- On the publicworks.art preview pipeline:
isPWPreview()will returntrue. In this case, your work must render the preview image and then callsetPreviewReady(). Interaction is discouraged in the preview pipeline. Public Works will capture an image by using theCSS selectorto locate your canvas andtoDataURL()to extract the image data. We currently only support this capture style at this time. - When displayed on publicworks.art
isPW()will return true. ButisPWPreview()will returnfalse. You may want to enable interaction or animations here since an end user is looking at your work. Keep in mind,isPW()returns false when viewed on external sites such as stargaze.zone.
Concepts
Reproducible Works
Your work must produce the same image when given the same hash seed.

A property of PRNGs is they will always produce the same sequence of numbers given the same seed. You can create a reproducible work by only sourcing randomness from the public works prng returned from
createPrng().Some more tips:
- Never use
Math.random(). Instead use the providedcreatePrng()or your own random function based on the hash. - Never use the system time. If you need to use time in your sketch, use the difference of the sketch start time to current time.
- Avoid deriving a random number in your loop invariant:
for (let i = 0; i < prng.randomInt(5,10); i++) {
   // ...
}
A better solution is to move the invariant outside of the loop.
const end = prng.randomInt(5,10);
for (let i = 0; i < end; i++) {
   // ...
}
Attributes
Attributes, also known as NFT traits, can be generated by your code. Public works will extract these during the preview pipeline and store them into your NFT metadata.
Generally speaking, attributes should be "human readable". meaning your code should output easy to grok attribute names and values. For example, consider an attribute
density which is a long decimal number 0.0120987109812. The attribute of density: 0.0120987109812 is hard to read. Instead, consider the range of this attribute and convert that to english. This could be Density: Low if less than 0.2, Density: Medium is less than 0.8 and Density: High otherwise.The example is depicted below:
let prng = createPrng()
let traits = {
	Edges: prng.randomInt(3, 10),
	Density: prng.random()
}
let attributes = {
	Edges: traits.Edges,
	Density: traits .Density < 0.2 ? 'Low' : traits .Density < 0.8 ? 'High',
}
setProperties(attributes);
Your code should generate and save the
attributes field before calling setPreviewReady() so that publicworks.art correctly picks up the attributes. We recommend saving your attributes in the very beginning of your code.
Traits only allows javascript primitive string, number and boolean types.
Generate your traits first and export them so that the imago engine captures and saves them to the NFT.WebGL
WebGL is supported but is has some quirks you should understand. Public works backend does not have a GPU available for rendering the preview. Instead Imago uses WebGL CPU simulation. This is much slower than a real GPU and sometimes produces different outputs. If your work uses WebGL, make sure to efficiently generate your preview frame when
isPWPreview() is true and be sure to call setPreviewReady() as soon as possible. And be sure to test your work a lot on testnet to verify your WebGL previews are rendered correctly.Another commonly seen problem with WebGL, especially when using THREE.js, is an empty preview image. To fix this, enable
preserveDrawingBuffer on your Renderer:renderer = new WebGLRenderer({preserveDrawingBuffer: true});
Quick Start
- Use the web pack template to create your project or clone the p5 demo work.
- Head over to https://testnet.publicworks.art/create to test your work
- When everything looks good, create your work on Mainnet https://publicworks.art/create
Creating a Work Step by Step
- Navigate to the test page and verify your work zip generates tokens with test hashes.
- Navigate to the create work page.
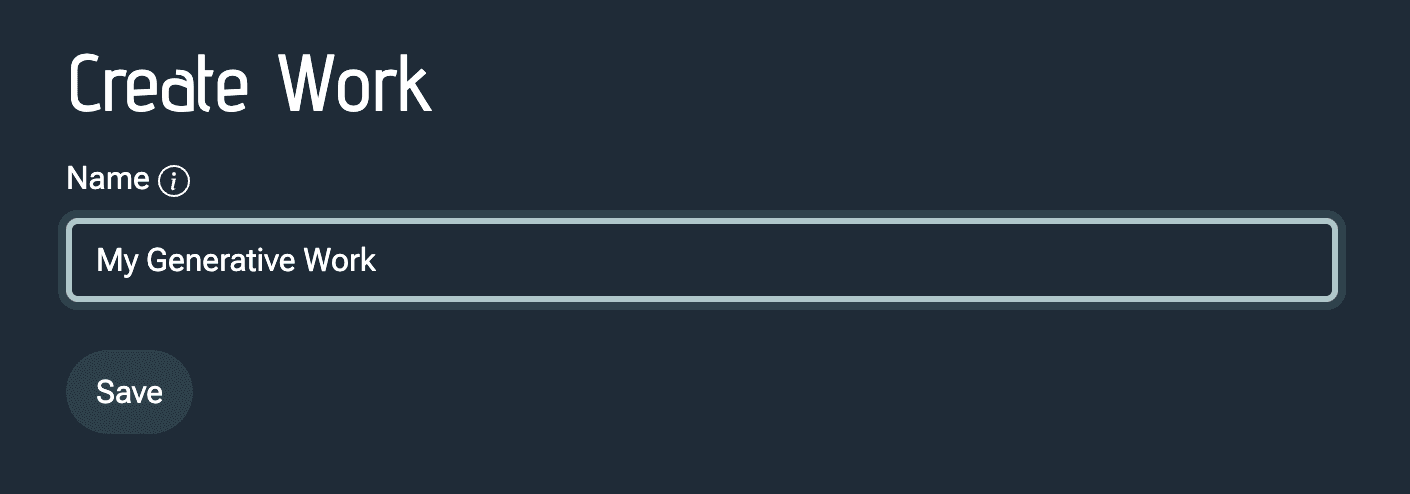
- Name your work. You can change this later.
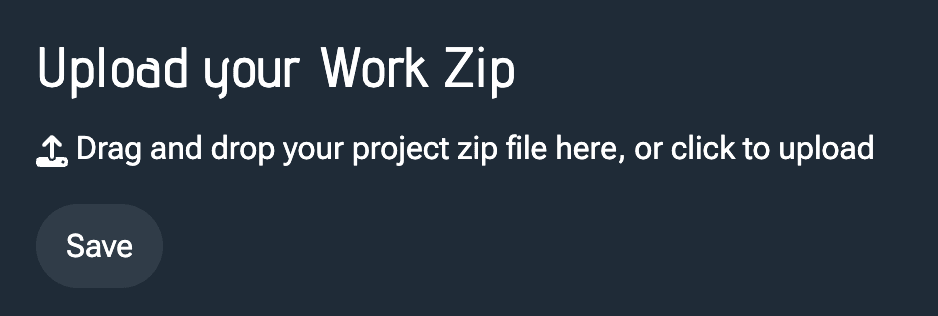
- Upload your work code zip archive by dropping it into the drop drop zone or clicking on the drop zone and opening the file in the file navigator.
-
Once successfully uploaded, the app will automatically load your work into the sandbox in the area above the upload dropbox.
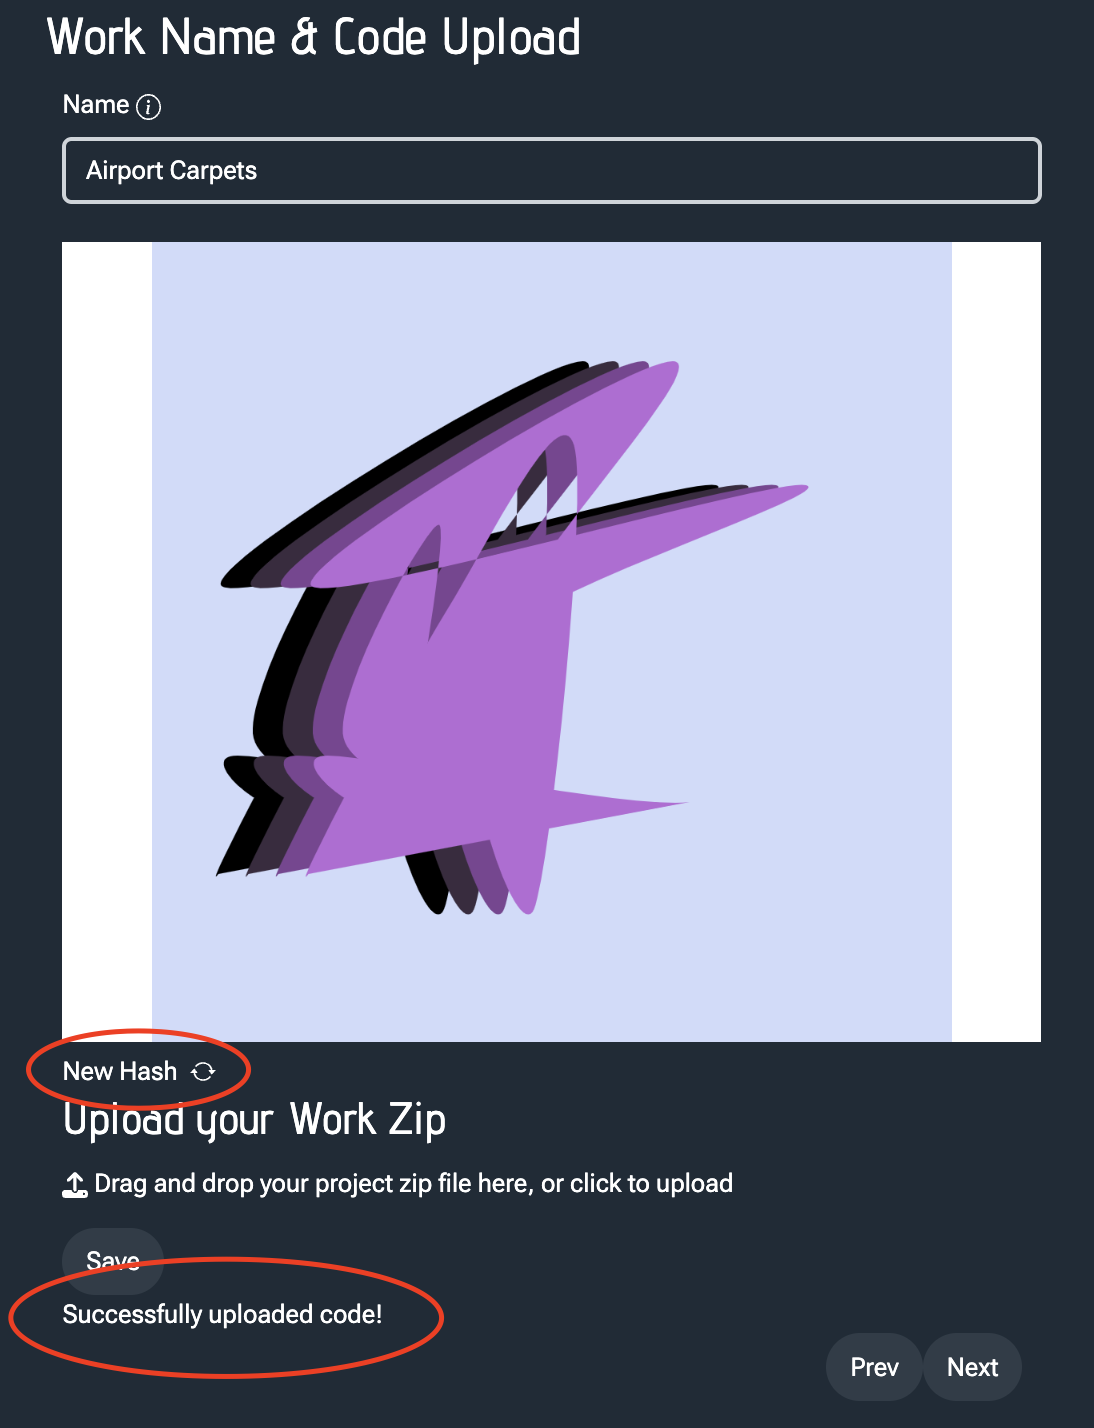
4. Upload Verify -
The code sandbox is a very important step to verify if your project will work on public works at all. If it doesn't work here, it won't work when published. Try clicking on the New Hash button to test out a new mint hash. Your code should respond to each new hash in the sandbox. When everything looks good here, you're ready to publish! Click Next.
-
To publish, you need to describe your work. These descriptions will appear in various places on and off chain. Click Save before moving on the next step.
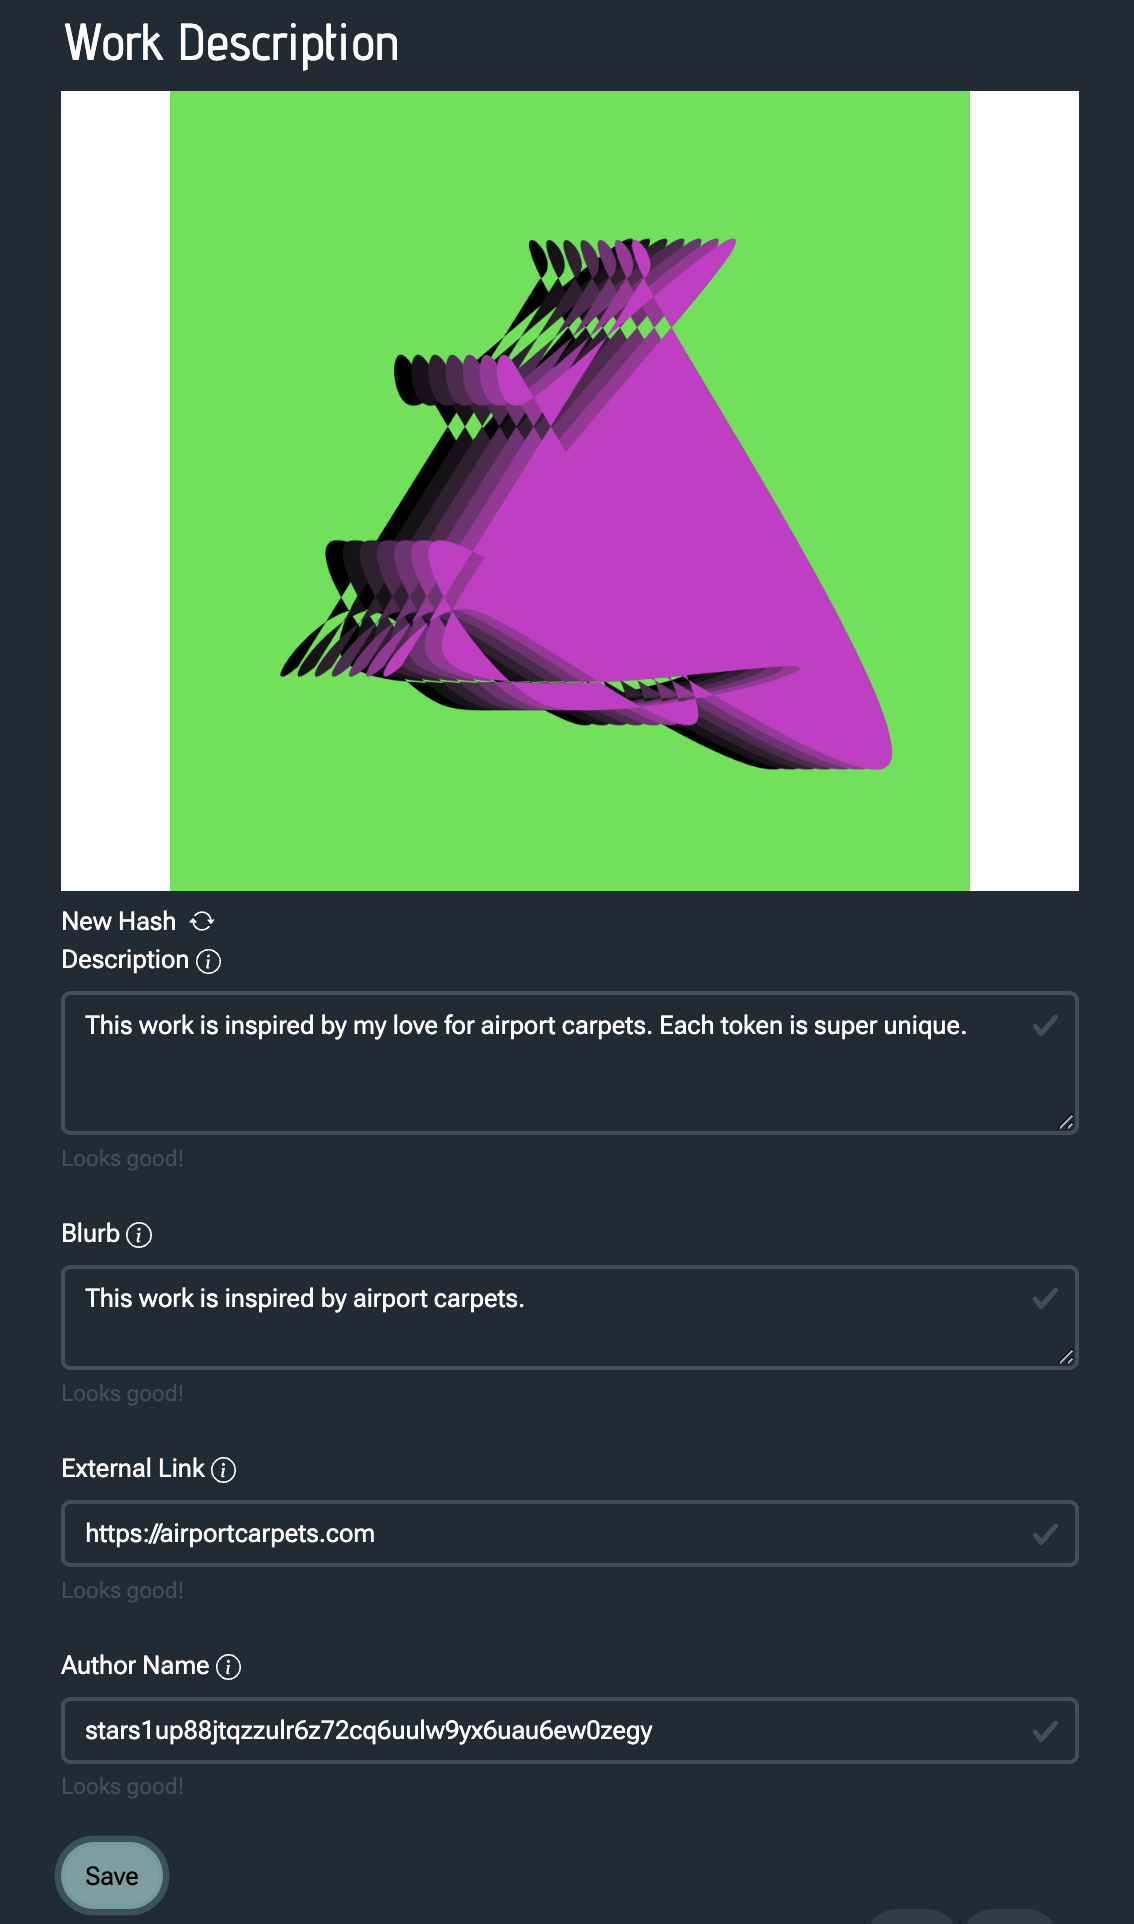
5. Describe -
The On Chain Configuration step allows you to choose important and necessary values to deploy your generative collection on chain. Collection size must be greater than 1 and less than 10000. Start time must be in the future. Price in stars must be greater than 50. Royalty address and percent are up to you. Canvas selector is the CSS selector to your canvas element. This is based on how you have structured your HTML. You can find this in chrome Dev Console in the Elements tab by right clicking your canvas element and clicking copy selector. Image Preview Resolution is the dimensions of your rendered image. The format is
<width>:<height>. It is recommend to have a resolution less than 5000 by 5000. We find that 4K resolution is a good option by setting the height to 2160 and width to your choosing based on your desired aspect ratio.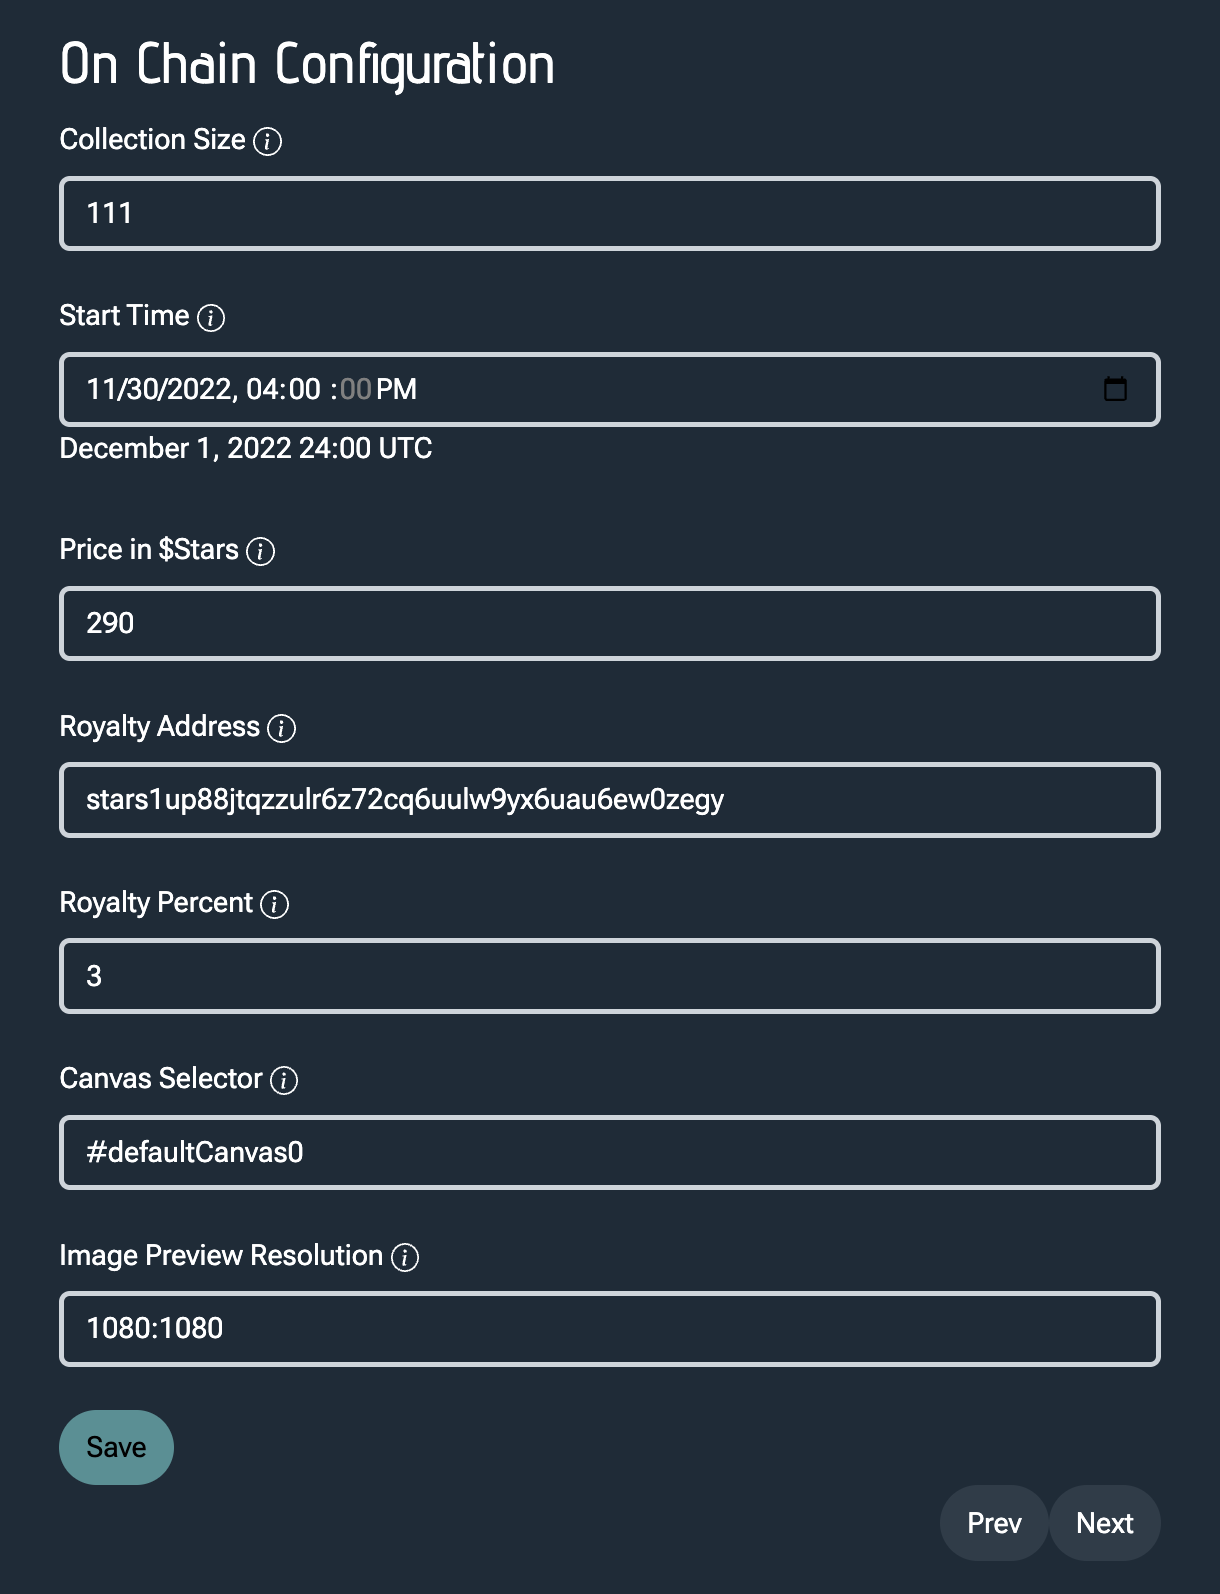
6. On Chain Config -
Save your configuration and click Next.
-
Upload your work cover image. This will appear on stargaze.zone. Click next when the displayed image looks correct.
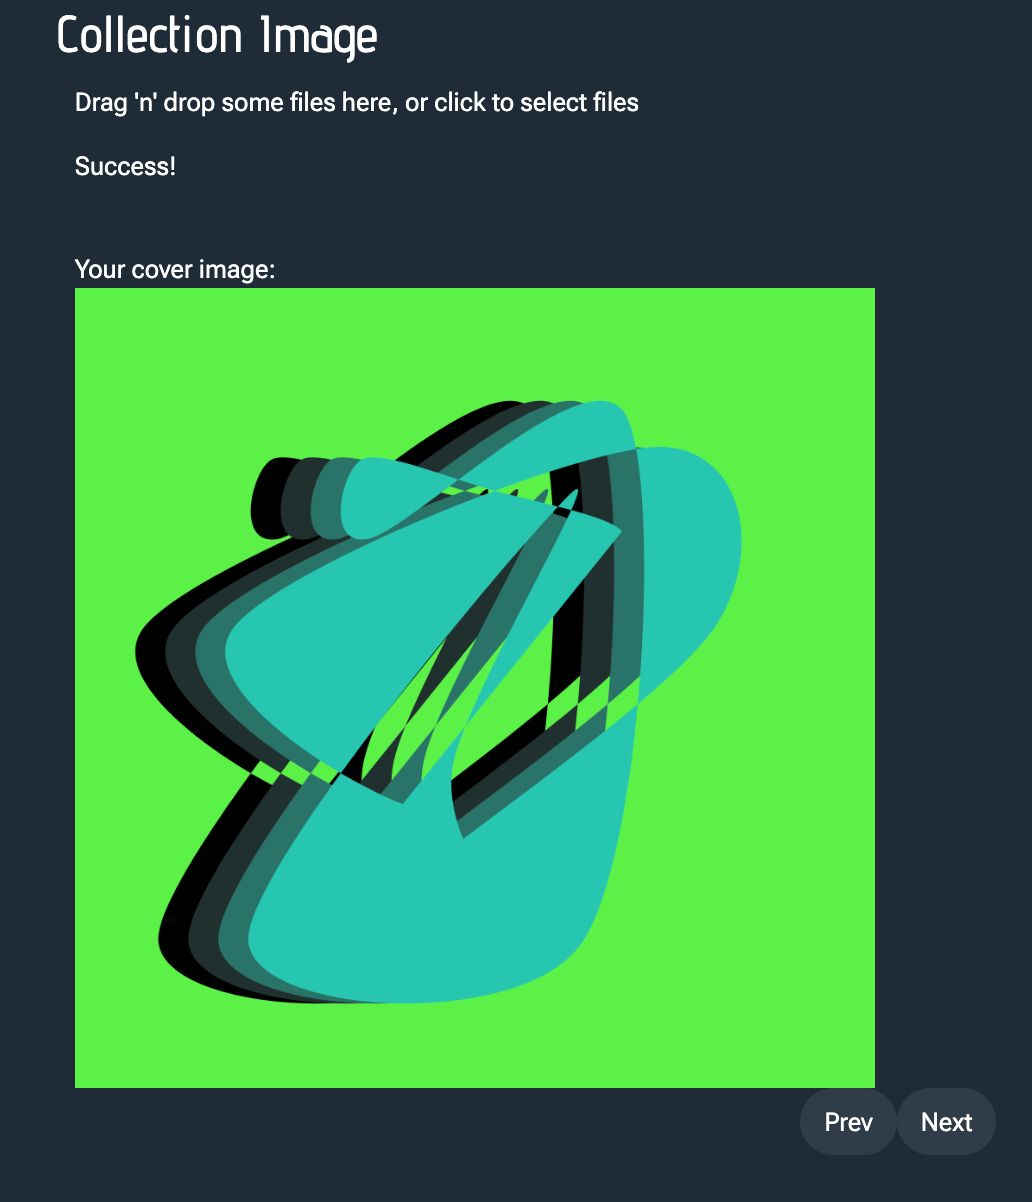
7. Cover Image -
On the Submit step, carefully verify your configuration is correct. A code sandbox also appears so you can verify test hashes one more time.
-
Once you're ready, click on
Instantiate On Chainto deploy your collection on chain. You must pay 1000 stars to do so. These 1000 stars are part of the fair burn program. On testnet, get test stars in the faucet channel in the Stargaze discord. -
You will see confetti and a
Successfully instantiated!message when your contract is deployed.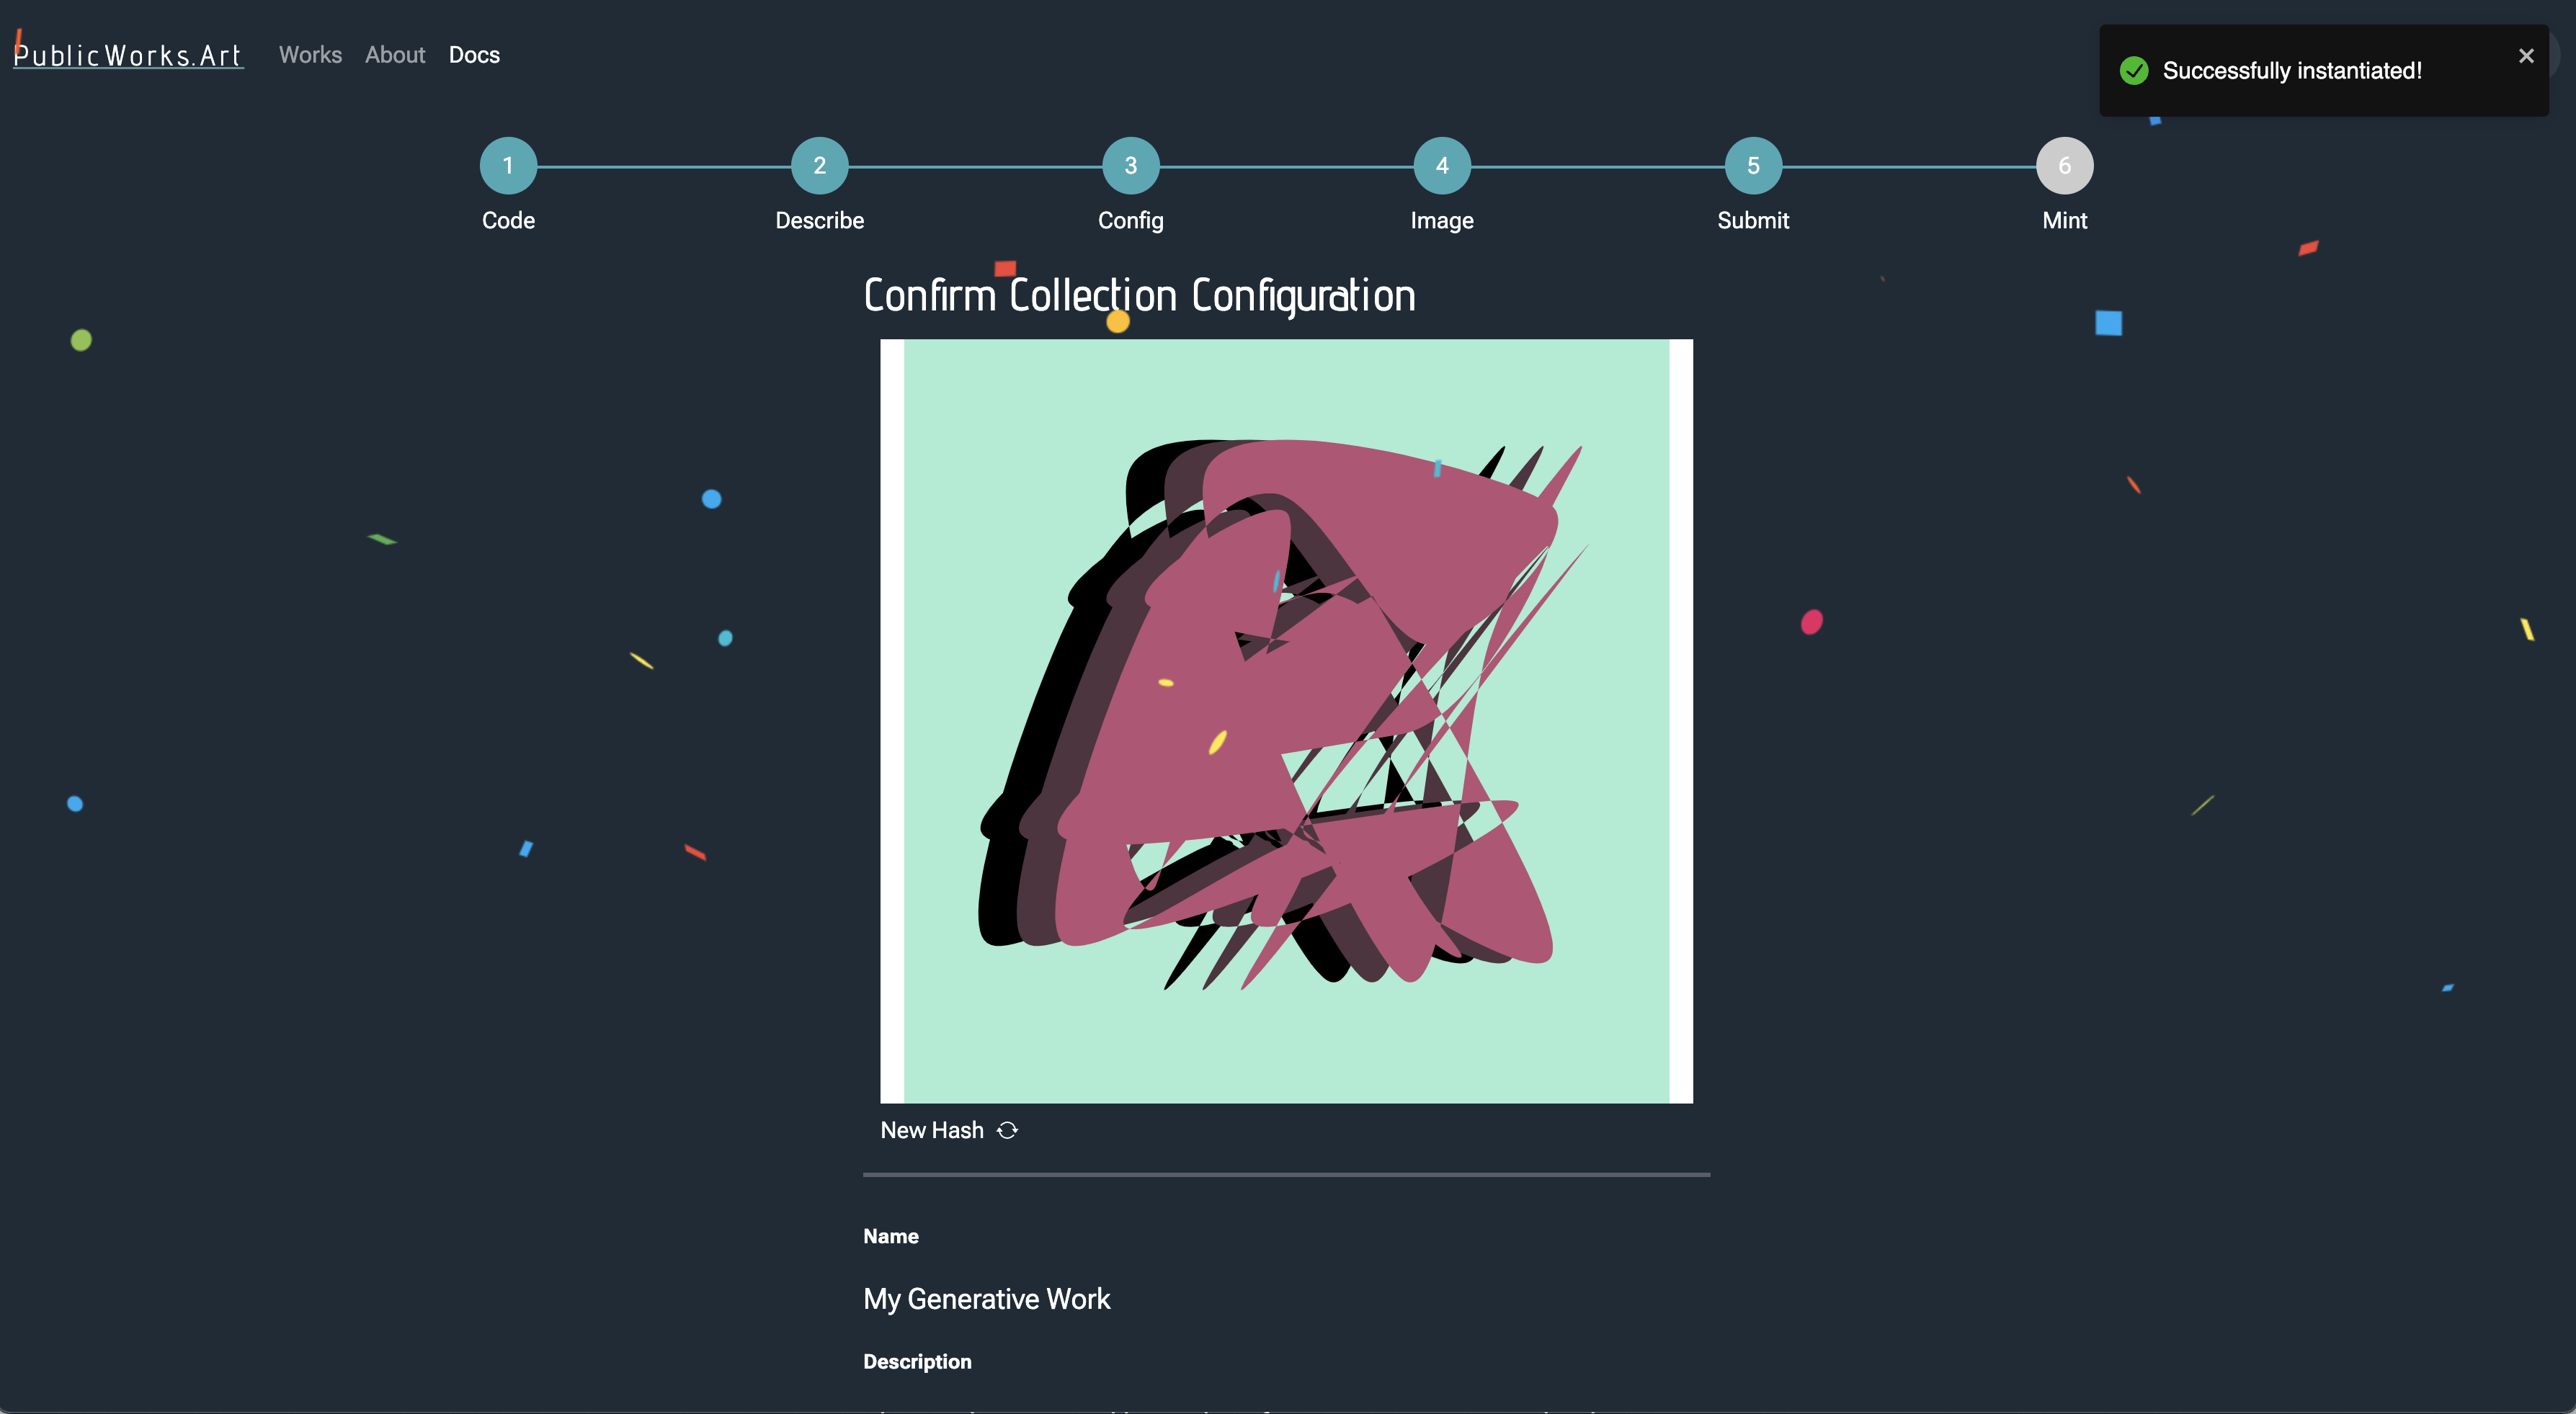
8. Success -
Skip to the next step if this succeeded. If the instantiate failed, then the smart contract rejected your configuration. Try to fix any configuration problems and try again. The most common issue is start time is not in the future. Go back to the Configuration step and update the start time.
-
On the last step,
Mint, you can find a link to stargaze to mint your work. Once minting begins, you can try testing out by minting directly on stargaze.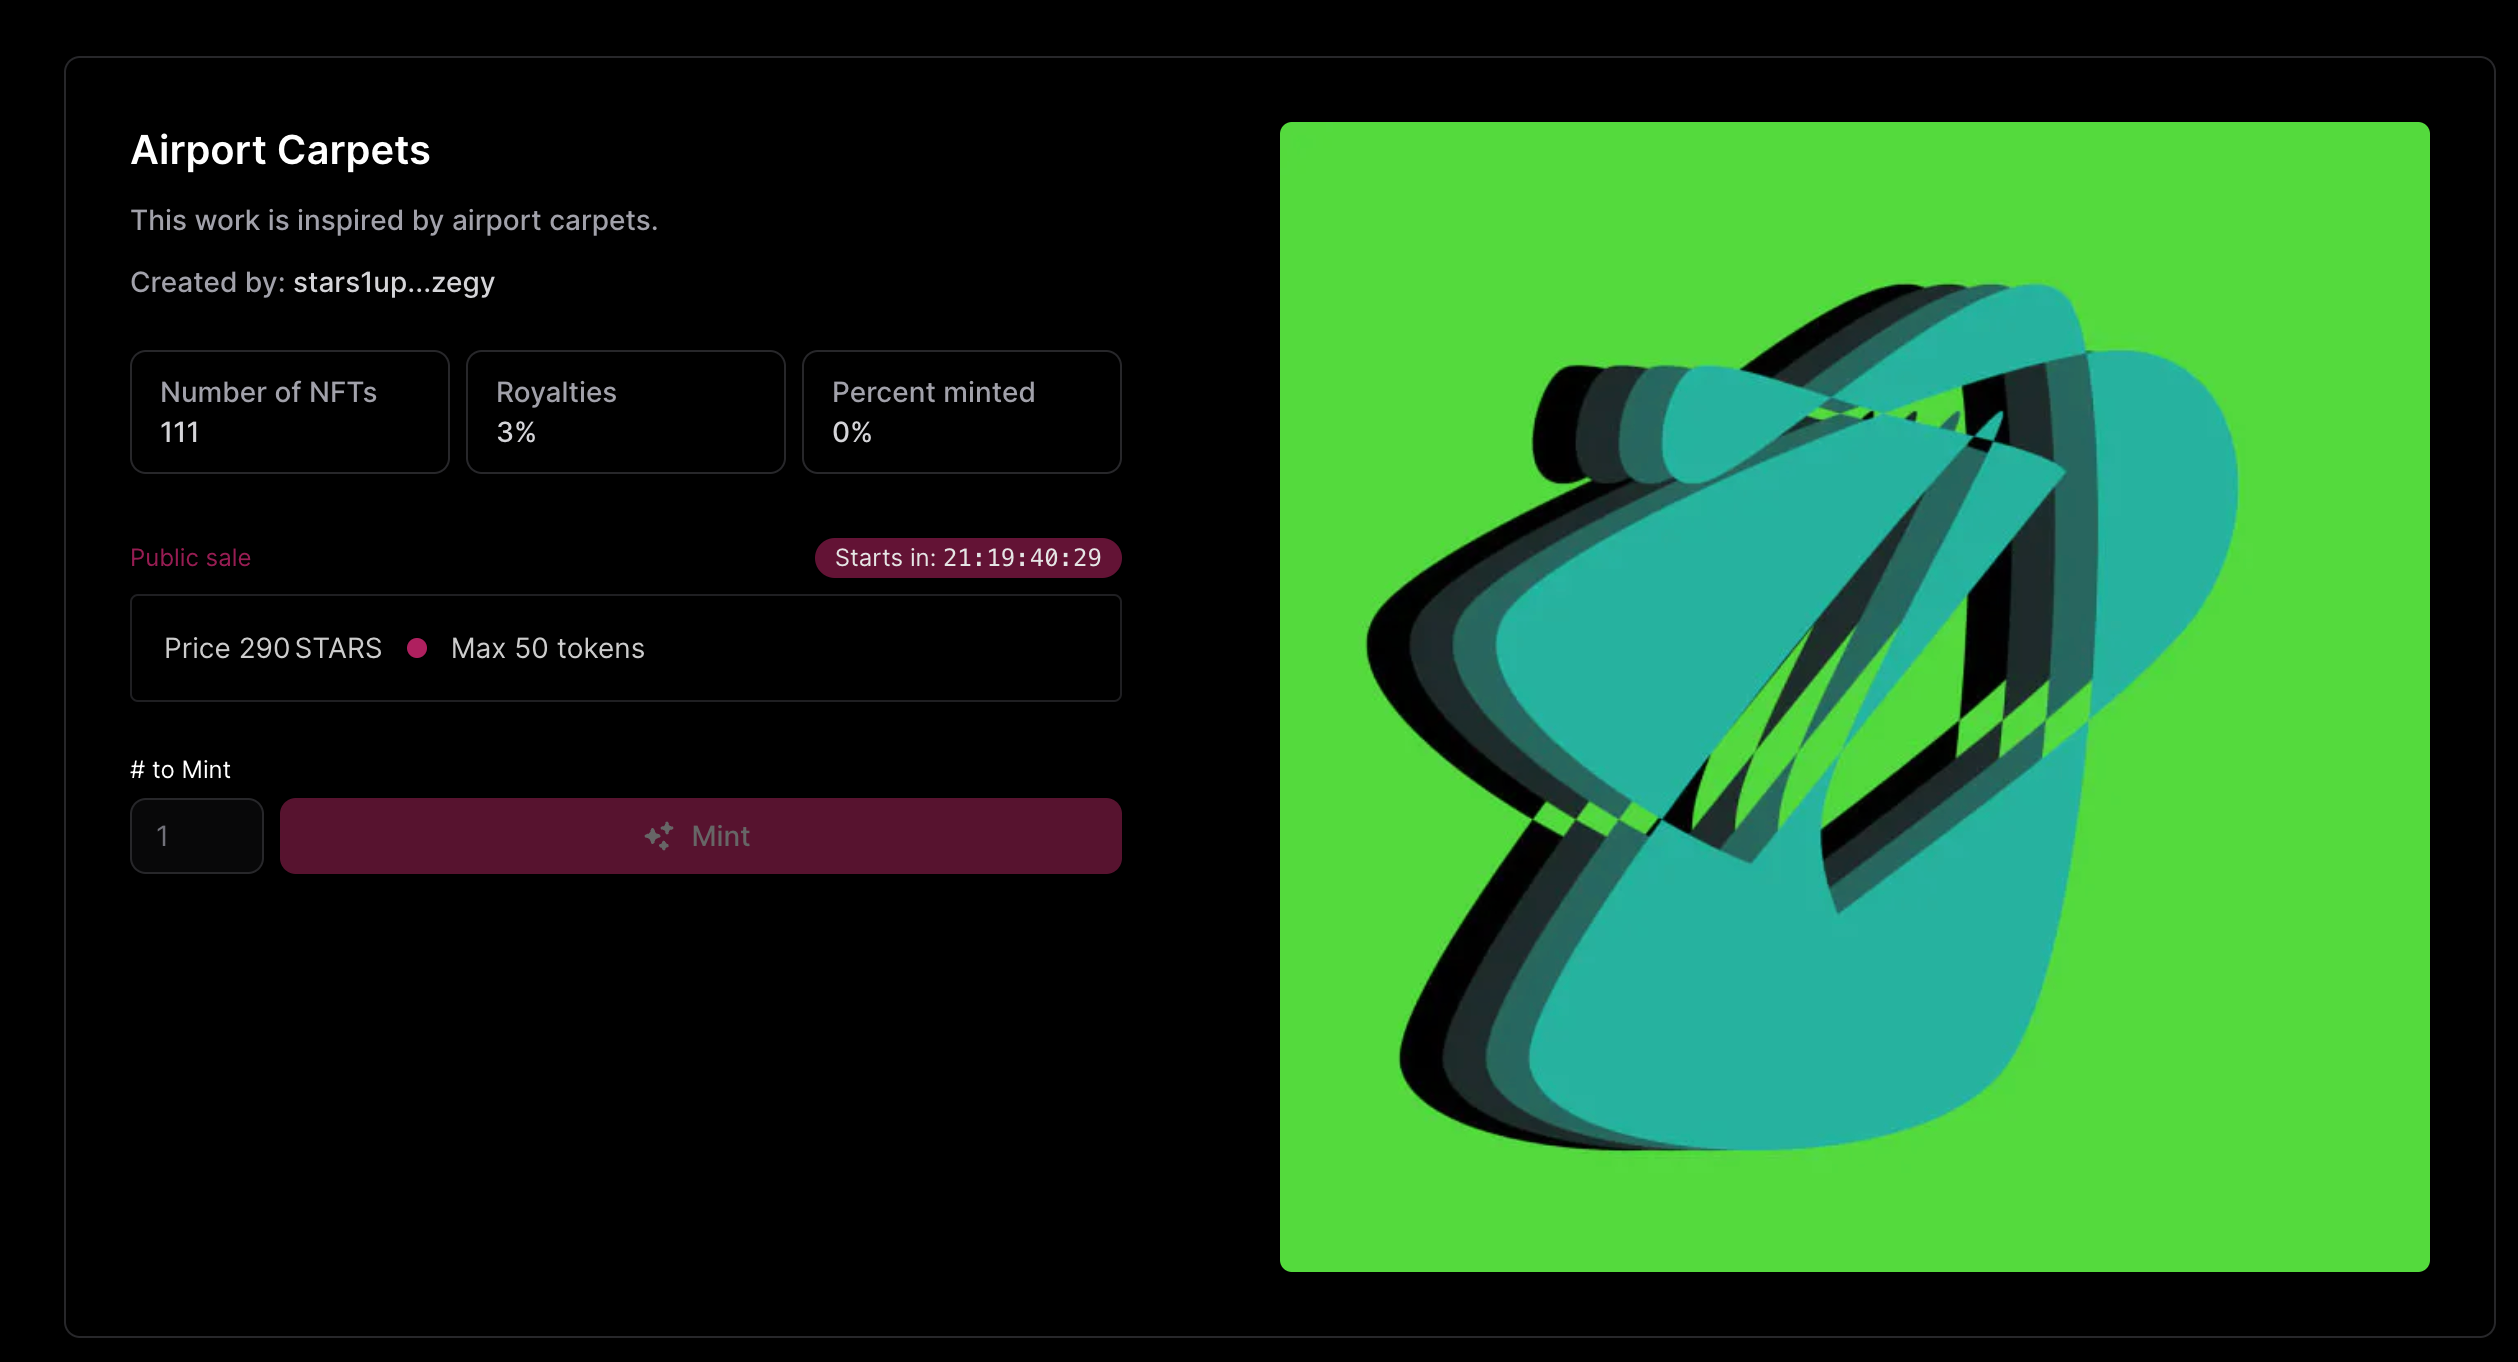
9. Test Mint -
Click on View NFT after minting. Wait a few moments (up to 1 minute) for the preview pipeline to render the nft preview. The preview pipeline operates in two phases. After the first phase completes, you should see your NFT display on stargaze. But the traits will show
Rendering in Progress. If nothing shows up after more than a minute, please contact skymagic on discord. After the second phase completes, your NFT is fully minted and the temporary traitRendering in Progresswill be replaced with your own NFT traits.- If your NFT never displays, or 'Rendering in Progress' trait never goes away, something failed in the preview pipeline. Contact skymagic on discord if so.
-
Congratulations. If you've made it this far, everything is working.
-
Follow these same steps on https://publicworks.art to deploy to Mainnet.
Fees
Public works takes 15% of mint fees. That's on top of a fair burn network fee of 10% which gets half is burned and the other half goes to the community pool. In total, 25% of your mint proceeds are taken as fees. We're open to feedback about modifying the fee structure. Please reach out and let us know your thoughts.
Thanks for reading and we're excited to see what you create with PublicWorks.art.